Every year we go to Camp Li Lo Li in Randolph, NY. One of my favorite places anywhere! Fun camp where kids hear great teaching from the Word of God, and are encouraged in their walk with our Lord. I'm on staff two weeks during the summer and it's just as much fun for us as it is for the kids! This year we are having a "Gold Rush" theme so I wanted to make some shirts for my friends and I that are on the waterfront staff. I found some really cool glittery iron on transfer sheets, put them through my cricut, ironed them on and viola!! (Total time approx. 30 minutes. The longest part was spent laying out my design. The actual making of the shirt about 15 minutes.
Here's how I did it....
Step 1. I used my Cricut Design Studio software to lay out my design. I like using it because you can tweak the letters and shapes. I can also get a good idea of how big the final layout it.
Tip: The wider the letter, the easier it will be to peel off and use on a t-shirt. Skinny calligraphy letters would not be recommended, unless you like to drive yourself crazy!
Step 2. I laid out my transfer sheets onto my cricut mat.
Make sure it's affixed really well so it doesn't slip during the cutting.
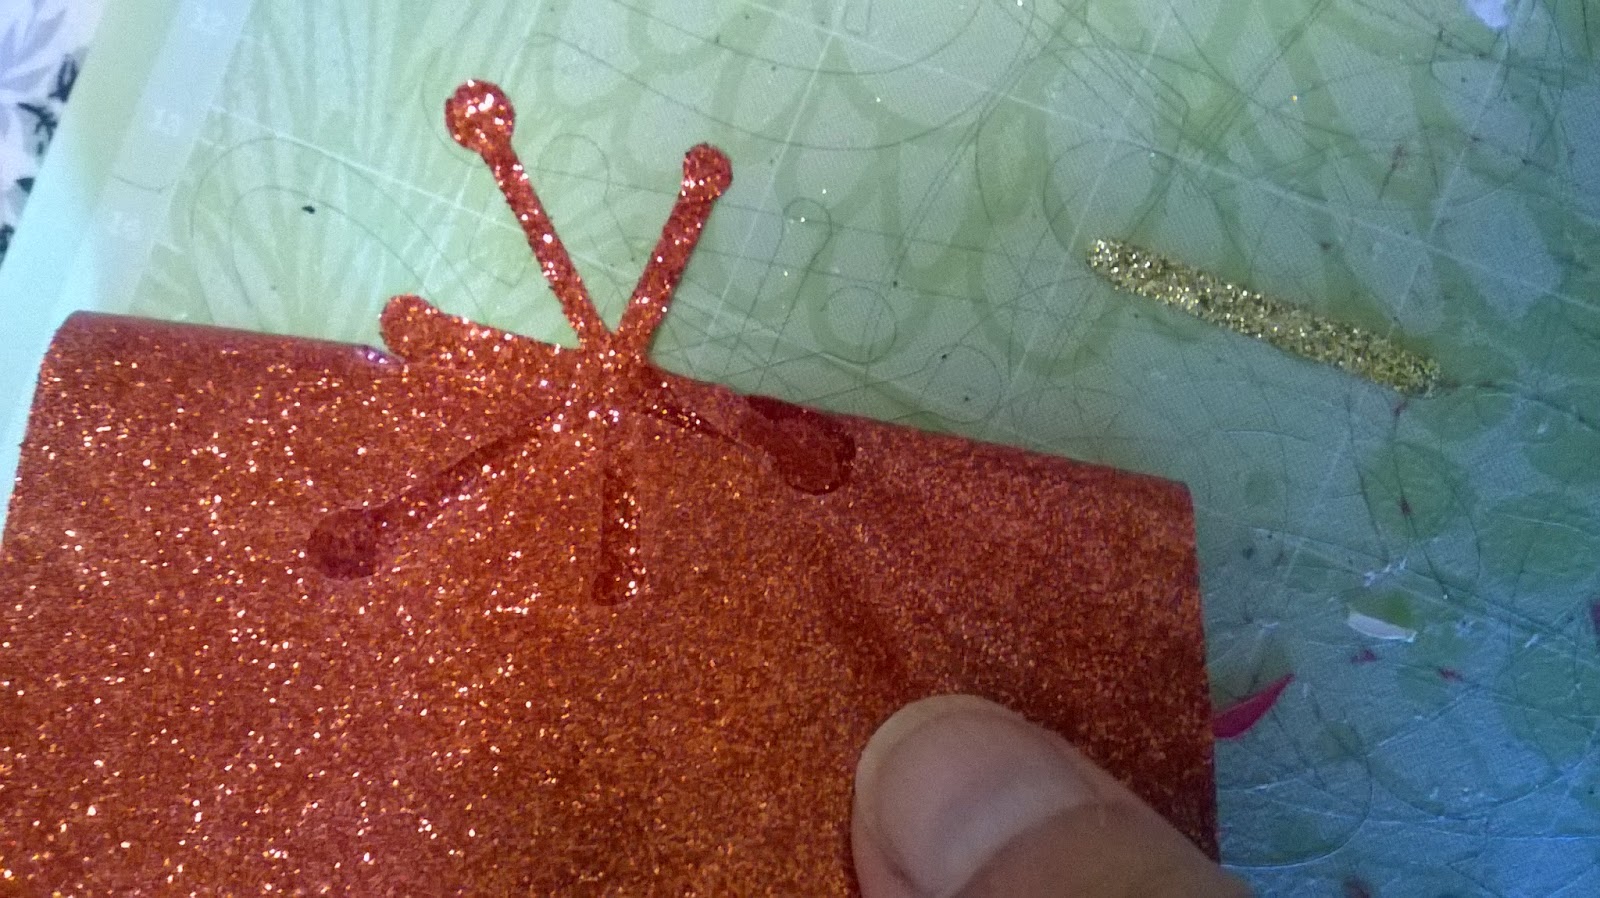
Step 3. Carefully pull back the excess.
Step 4: Following manufacturers instructions on your transfer sheets, adhere the letters to your t-shirt. I always cover over the letters with a handkerchief. That way the letters won't stick to the bottom of the iron.
The finished product!!! Custom T-Shirt! Now we're ready for Camp!


No comments:
Post a Comment