Coupon Deals

Thursday, August 27, 2015

High School Graduation Party!

Graduation Party!!
We just sent our first born off to college (sniff sniff)!  Her senior year was very emotional for me, and it flew by!   May and June were a blur of activities, awards, banquets and celebrations.  I wanted to share a few of the projects that I put together for her graduation party.  It was an open house of friends and family and was a truly special day to celebrate.

Table Decor:

I wanted something simple yet meaningful.  I took jars that I had in my basement, tinted them blue (school colors) with decoupage and cake gel medium, added Scripture word art that I downloaded from the internet, added fresh flowers and viola!!

I made a dozen!  I was so pleased with how they turned out!

I mixed up about a cup of Mod Podge and added about a half teaspoon of the Wilton color gel. If you want a darker color, add more gel.  

I painted the inside of the jars using a foam brush.  Painting the inside of the jar allowed me to keep create the look of blue glass vs. painted glass.  
It goes on milky....

As it dries, it gets clear.  The heavier you are with the mixture, the darker color.  If you want a more subtle color change, use less gel.  I sped up the drying process by using my heat gun.  (Warning, the jars get hot if you do this, so hold the jars with potholders!  I figured this out pretty quick!)

I decoupaged the verse on the outside, added some ribbon and a tag.  The tag looked plain so I cut out some graduation hats on my cricut.  It was just what it needed!
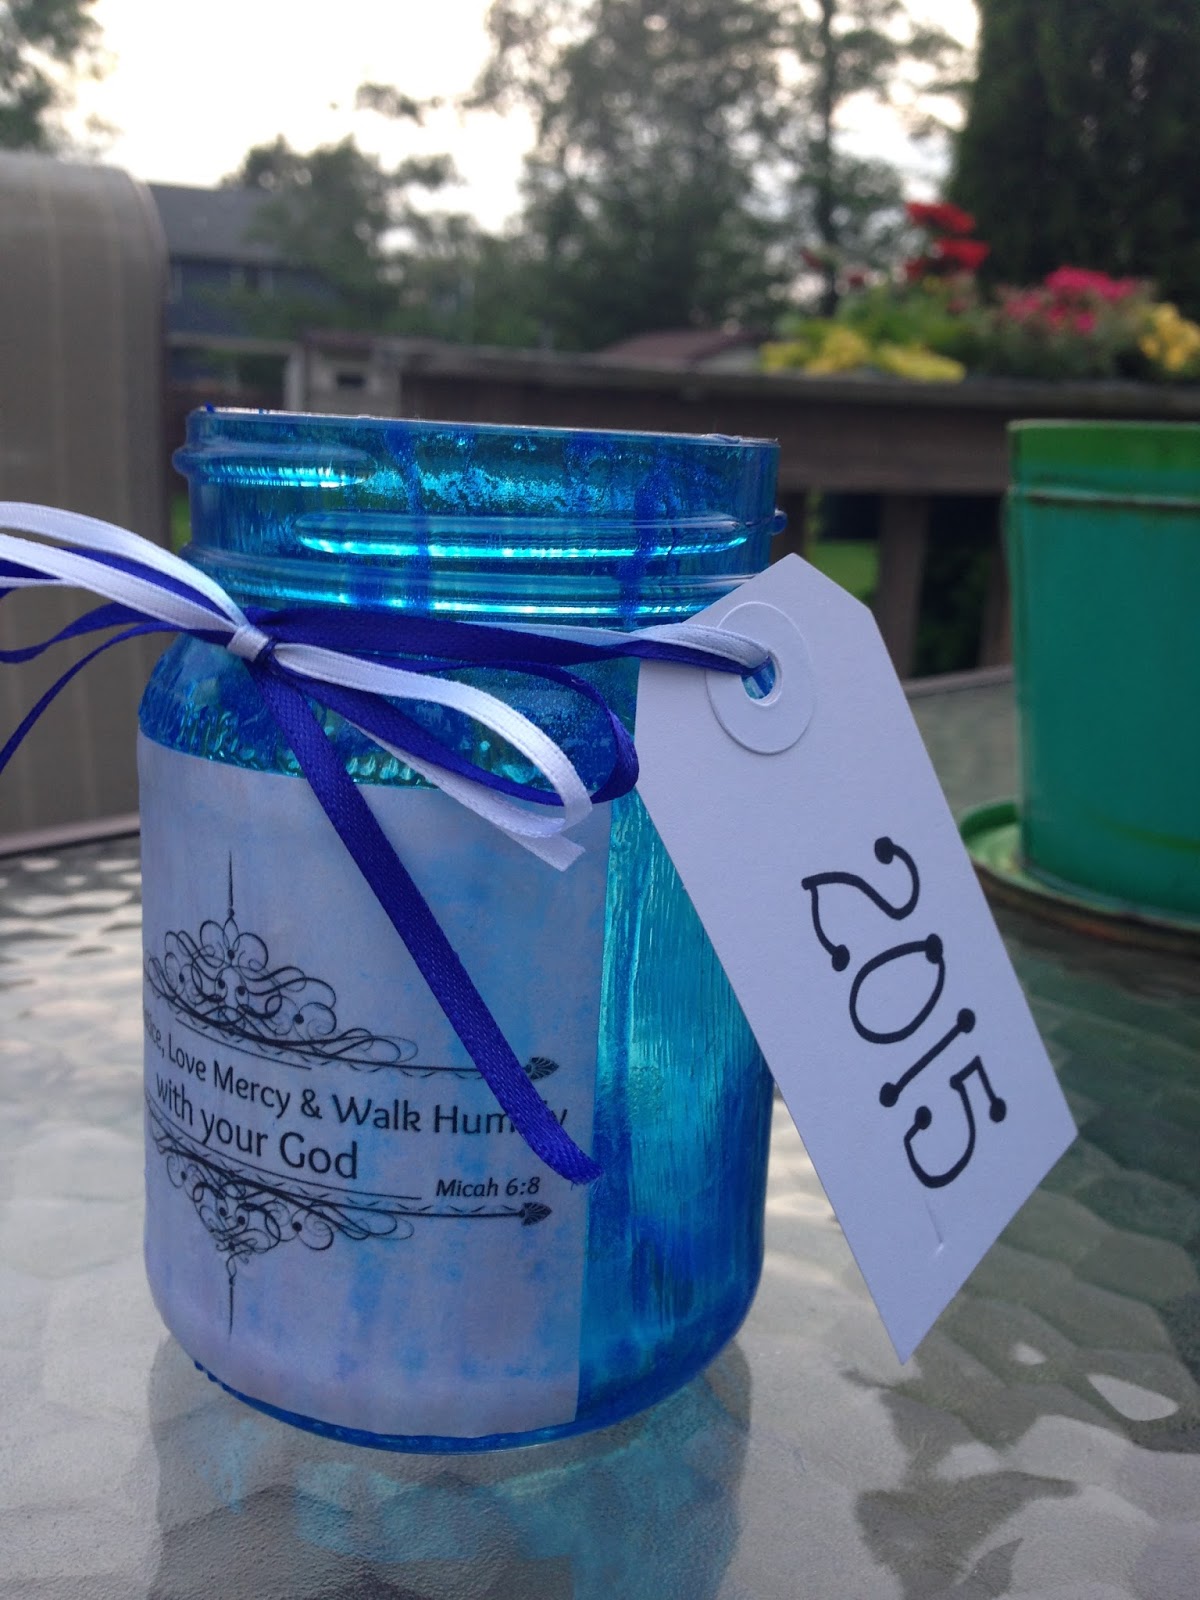

I hit up the grocery store, bought a bunch of flowers and ended up with some lovely customized centerpieces.  The best part is that they are reusable and I have two more daughters that will be graduating high school.

Decorations:

I scrapbook so I wanted to utilize photos in any way possible for the party.  Here are a few of the photo projects!

 I picked up some banner templates at Hobby Lobby which were 50% off!!  I used one set to showcase pictures of Emily and the friends, family and activities that shaped her life.


This was my favorite!  I put her school pictures from Kindergarten through 
Junior year on this banner!

I saw this idea on Pinterest and LOVED it!! I loved it so much I made two!  Simple and easy to put together.  Just use a wreath frame, mount your pictures on black card stock and arrange on the frame.  The graduation hat is a 7 inch square with a raised button in the middle to hold the tassel.  Again, I fired up the cricut to make the letters, but you could use stickers too!


Food!
We had approximately 100 people, and we were on a budget.  One of our favorite meals is tacos so we had a taco/nacho bar which was easy to prepare ahead of time, keep stocked during the party and allowed me to enjoy the fun!  (Sorry I don't have great pictures, I forgot to take pictures of the food table!)

 Our graduate!!
Our garage buffet!  It rained so much the day of the party, but having the food in the garage worked out great!  I kept the taco meat, chicken and nacho cheese warm in crock pots. 
We wanted to do something fun for dessert so we had a cookie bar!

I did a lot of baking the days before the party, and stored the cookies in the freezer to keep them fresh and from being eaten!  


It was a great day and we were so blessed to have so many friends and family celebrate with us.  


Wednesday, August 20, 2014

Freezing Corn-Easy!

This time of year, my inner Caroline Ingalls kicks into high gear! Today my daughter and I went to pick peaches for canning and at the same stand they had corn.  The peaches need to rest another day or two before I am able to can them, so I bought a bushel of corn to fill in my time!  (LOL!!)   Last year I froze about two dozen ears but it was super labor intensive and made a huge mess.  I knew there had to be a better way.  I now present to you my better way!


Step 1:  Shuck the Corn!  I bought a bushel which yielded 66 large ears of corn!  I enlisted my faithful crew of helpers to help me!  I suggest doing this step outside, it gets super messy!  

Step 2:  Get two large pots and get the water boiling.  (You can certainly use one pot, but because I had so much corn, I decided to double up on my efforts.)

Step 3:  Add the corn, cover and boil for approx 7-8 minutes.  I boiled the corn in batches...12 ears per batch.  
Step 4:  Remove the boiled ears to an ice bath to stop  the cooking.  I loaded up my kitchen sink with  cold water and ice.

Step 5:  Let the ears cool!  It hurts to handle hot corn...I learned that the hard way!

Step 6:  Remove the corn from the cobs.  I  bought a handy corn stripper by Oxo at Bed Bath and Beyond last year with a coupon, it made the job go very quickly!  You could use a knife, but this worked very well!
 You can also use a knife and a bundt pan....the cut kernels drop right into the pan!

I combined the two methods....I used my corn stripper and the bundt pan. This made the job go quickly!  It does a great job of getting the kernels off of the cob.
Yummy!!

Step 7:  I put 4 cups into freezer quart bags, squeezed out the extra air and popped them in the freezer.  I ended up with 15 quart bags of corn.  I figure that I'll use about half a bag per family serving or to add in recipes.   

The work I put in today will be greatly enjoyed during the winter!

Thursday, August 7, 2014

What to do with all of that summer squash!

I came across this recipe on Pinterest and gave it a try tonight.  My family loved them!  If you've got a lot of summer squash growing in your garden, this is a great way to enjoy them!

Yellow Squash Cheddar Biscuits


Thursday, July 17, 2014

Using a Cricut to make iron on transfers for T-Shirts

Every year we go to Camp Li Lo Li in Randolph, NY.  One of my favorite places anywhere!  Fun camp where kids hear great teaching from the Word of God, and are encouraged in their walk with our Lord.   I'm on staff two weeks during the summer and it's just as much fun for us as it is for the kids!  This year we are having a "Gold Rush" theme so I wanted to make some shirts for my friends and I that are on the waterfront staff.  I found some really cool glittery iron on transfer sheets, put them through my cricut, ironed them on and viola!!  (Total time approx. 30 minutes. The longest part was spent laying out my design.  The actual making of the shirt about 15 minutes.  


Here's how I did it....

Step 1.  I used my Cricut Design Studio software to lay out my design.  I like using it because you can tweak the letters and shapes.  I can also get a good idea of how big the final layout it.
Tip:  The wider the letter, the easier it will be to peel off and use on a t-shirt.  Skinny calligraphy letters would not be recommended, unless you like to drive yourself crazy! 


Step 2.  I laid out my transfer sheets onto my cricut mat.  
 Make sure it's affixed really well so it doesn't slip during the cutting.

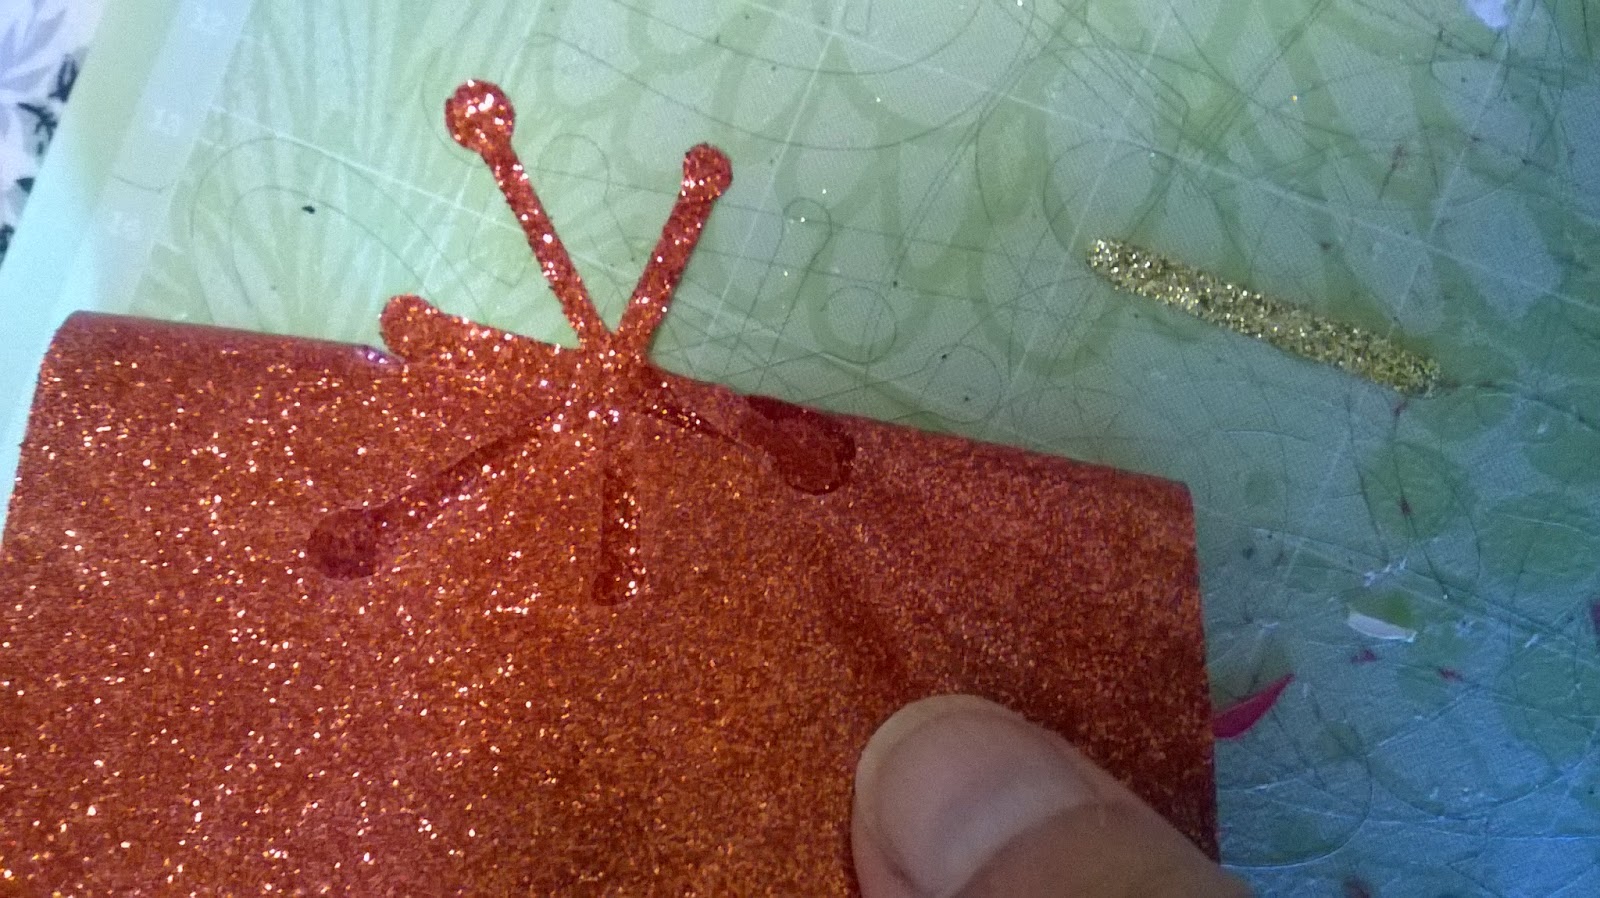
Step 3.  Carefully pull back the excess.


 Step 4:  Following manufacturers instructions on your transfer sheets, adhere the letters to your t-shirt.  I always cover over the letters with a handkerchief.  That way the letters won't stick to the bottom of the iron.

The finished product!!!  Custom T-Shirt!   Now we're ready for Camp!


Wednesday, July 16, 2014

Tweaking your basic cookie Recipe

I enjoy baking and chocolate chip cookies are a staple.  Here are some easy to change up your basic recipe to get whole new variations with very little effort!

Basic Recipe:
     Cream in a mixer:
     2 sticks of butter with 
     3/4 cup of brown sugar
     3/4 cup of white sugar
add in    
     2 eggs
     1 t baking soda
     1 t salt
     1 T vanilla (see homemade recipe below!)
      2 1/2 cups flour
      2 cups of chocolate chips 

Bake in a 350 degree oven for 8-10 minutes.

Variation 1:
Chocolate Peanut Butter Cookies
     Substitute 1/2 cup of peanut butter for one of the sticks of butter.  The flavor is amazing!

Variation 2:
Double Chocolate Chip Cookies
     Add 1/2 cup of baking cocoa to your cookie mix before adding in the chocolate chips.  

Enjoy!!

Homemade Vanilla Extract
I love everything vanilla....from hand soap, body wash, room fresheners and of course in baked goods.  Real vanilla extract is pricey, even at Sam's or BJ's.  I've made my own for years....it's super easy and very inexpensive!

1.75 L of Vodka  ($12.00)
8 vanilla beans ($9.00)

Cut the beans lengthwise and drop 4 of  them into the bottle and store in a dark place.  After a few days, you'll see the color of the alcohol change to the vanilla extract color that we all know.  After 8 weeks it will be ready for baking!   

Tuesday, July 15, 2014

Using my Cricut beyond scrapbooking

Using my Cricut beyond the scrapbook pages.

Project #1:  I "decorated" my cricut.  Why bother?  Well, at least twice a year I go to a major crop with other scrapbookers where cricut machines abound.  They are all lined up along the walls where the outlets are.  Now I will be able to pick out my machine right away, and no one will mistake theirs for mine!  (Total time:  10 minutes)
 Project #2!  
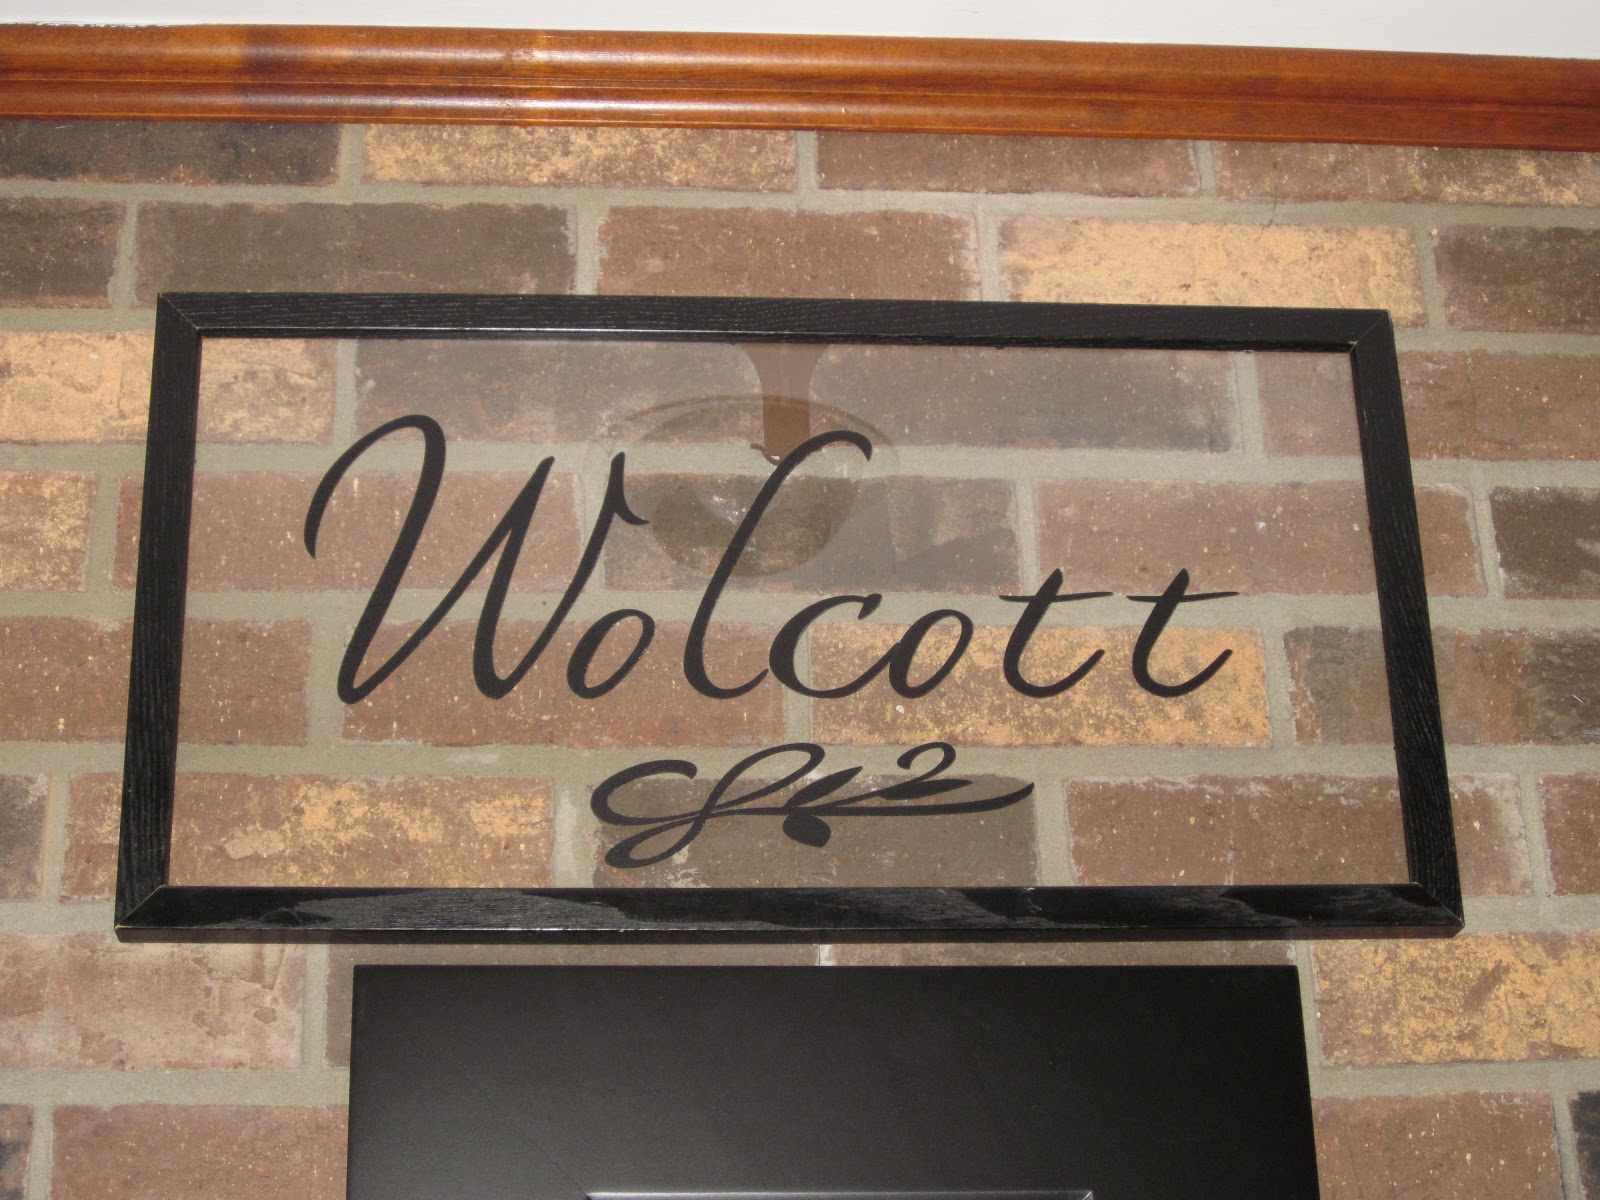
I saw this on Pinterest and couldn't wait to try it out myself!  I found a frame at home and removed the backing.  I then used my cricut design studio program to lay out the lettering for our last name and welded the letters together.  After the name was cut out, I used transfer paper to transfer the images directly to the glass of the frame.  I had to bend the clips on the back of the frame so they wouldn't show through the glass, but still keep the glass secure.  I LOVE how it turned out!!!  My husband thought it was pretty cool too!  Score!! (Total Time:  25 min)

 Project #3!  This was fun and so easy, a quick and easy way to jazz up the laptop!  Using vinyl on your cricut machine is easy (cut using low pressure) and they apply to the back of the laptop!  The best part, is that when I want to change it, I can peel it off and there is no residue left behind!  (Total time:  10 min)

What to do with all of those cherries?

This year I picked cherries for the first time!  So fun, fast and easy!  My daughters and I managed to pick about 20 pounds in 20 minutes or so.  
I pitted them using a NorPro Cherry Pitter, which made the job really fast.  I plunked the pitted cherries into ziploc bags and put them into the freezer to enjoy throughout the year for smoothies and baking.  One of my girls loves cherry pie.  I'd never made one before so I went to the internet to find a good recipe.  I combined the pie filling recipe, with my friend's easiest pie crust recipe ever and my own crumb topping .  WOW, best pie ever!!  


Click Here for the Pie Crust Recipe from Red Head Can Decorate! 

Click Here for the Pie Filling Recipe
(For the filling, I used less sugar and omitted the food coloring.) I had made the filling earlier in the week and stored it in a quart jar in the fridge.  When it came time to make the pie, I added in a few of my cherries from the freezer because my pie dish was deeper than average.)

Crumb Topping
1/4 cup of softened butter
1/2 Cup of Flour
1/2 Cup of Sugar
1/2 Cup of Oats
Combine and sprinkle over assembled pie. 
 Bake at 350 for approx 50 minutes or until crust is golden brown.

Quick, Easy and Super Yummy, definitely going to go in my list of "keeper recipes"!


Monday, July 14, 2014

Homemade Laundry Soap

I found this recipe on pinterest a few years ago and made a batch as an experiment.  I was pleasantly surprised with how well it worked and how easy it was to make.  We have 5 people in our house so our washing machine is running almost every day.  A batch of laundry soap will last approximately 9 months!   We have a HE washing machine and it's worked great for our family.  I've got three girls who play sports and a husband who works outside so we've got some pretty dirty laundry!

My ingredients.  The last time I bought detergent from the store, it came in the bucket shown in the picture.  It's the perfect size to hold this batch of detergent!  

1 76 oz. box of Borax  
1 4 lb box of Baking Soda 
1 55 oz box of Super Washing Soda
3 bars of Fels Naptha Soap
3.5 lbs of Oxiclean
1 package of laundry in wash scent booster (optional)
Approximate Total Cost:  $26.00


Directions:
1.  Grate the Fels-Naptha Soap (I bought a box grater at the dollar store that is used strictly for grating the soap.) (If you don't have a grater, use a large kitchen knife to break down the bar and then chop it up as small as you can get it.)

2.  Combine the remaining ingredients, mixing well.

3.  It's ready to use!  


1 TBS per load of laundry!!


The Finished Product!!


I wrote out the recipe on top of the lid, no hunting when it's time to make more!


A batch for our family lasts approximately 9 months....not too bad for $26.00 worth of ingredients!  


Sunday, July 6, 2014

Patriotic Votives

I had some old jelly jars in my basement that had no lids.  I didn't want to throw them away because I knew I'd eventually use them for something.  July 3rd I was inspired!  I went to the dollar bin at Target and they had 3 packs of American Flags for half off!

I removed the flag from the sticks, and then decoupaged them onto the jars.  I had some sparkly garland in my basement so I added that to the top of the jars for some extra sparkle. They were cute when I had them finished...
They were still a little tacky from the decoupage, but it dried clear.
(Started this project at 10:30 p.m.!)

I had them on the deck and at our bonfire, I lit the votives that I put inside....

The turned out so cute!!

I'm thinking I may make some for other holidays!  Quick and really inexpensive!  

Thursday, October 31, 2013

I finally made the time to sit down and make a meal plan for November!  (I've still got time, it's still October for a few more hours!)  The time spent to sit down made such a huge difference for us this Fall.  Life happens (which is why I have frozen pizzas on hand), but this give me a great framework to plan from and shop for!


I'm looking for some good crockpot recipes to add to my rotation.  If you have any that your family loves, I'd be thankful if you'd share it!

Sunday, September 8, 2013

New School Year....This mom's getting her act together!

School starts tomorrow, and all of the fall activities just days after that.  My goal is to keep our family as organized as I can, so I'm trying to set ourselves up for success.   One of my biggest "ughs!" is planning dinner.  I don't mind the cooking, just the thinking about what to have and then figuring out if I have what I need to get it on the table.   I sat down and made a meal plan for September and October.  It took about 25 minutes or so, and viola!  Here's a peek...
Life happens, so I have some last minute staples...like frozen pizzas in the freezer!

I like the unscheduled life of summer, but it's time to get a daily routine for myself going again.  I came across a great challenge that focuses on exercise, daily devotions and healthy eating!  It starts 9/16 and I'm so excited!  For more info on Peak 313's 5 week challenge, check out http://peak313.com/featured/the-2nd-annual-living-and-active-challenge/

Happy New School Year!